

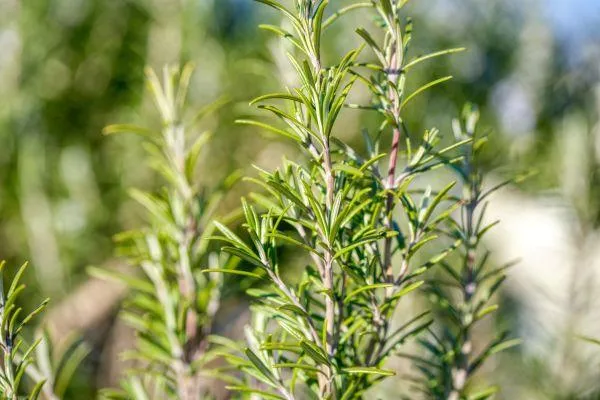
Rosemary
Rosemary is a herb none of us should be without. Evergreen and well pruned, the upright varieties (my favourite) make an attractive hedge or small shrub, especially while in flower when their mauve blooms are awash with bees. Prostrate varieties make excellent groundcover plants well suited to covering a dry bank. Rosemary enjoys a well-drained spot, is reasonably drought tolerant, and will turn up its toes if left to sit in wet soil. It happily grows from root cuttings which can be taken at any time of the year (that said, cuttings root faster in warmer temperatures so spring and summer are probably the ideal times to propagate).
Taking Cuttings to Grow Your Own
To start rosemary plants of your own, cadge six to eight 30cm long pieces from a gardening friend. Although not strictly necessary, I like to source cuttings with a ‘heel’– a small strip of wood and bark which tears away from the main branch as you pull off your pieces. Wrap the cuttings in wet newspaper to get them home, then line a deep pot with stones to provide good drainage. Fill the remainder of the container with loose potting mix into which you have mixed a cup of sharp sand (you can buy this sand from a garden centre or sieve your own from builder’s mix – the gravelly material used in conjunction with cement to make paths).
How to Plant and Care for Cuttings
Strip one third of the leaves from the lower end of each cutting. Dip the naked ends of the cuttings into rooting hormone (buy this from the garden centre or make your own by boiling up willow bark and concentrating the solution) for a minute or two then push them into the potting mix at a 45 degree angle.
Water the cuttings and leave them in a cool, shady spot for several weeks until new growth can be seen on the wood (keep the potting mix damp but not wet). Once the cuttings have sported new growth for several months, carefully tip up the pot to separate the rooted pieces, and either pot them up individually or plant them into a prepared spot in the garden.
Drying and Using Rosemary
Rosemary won’t die down in winter but, because there are times when it is more convenient to reach into the herb and spice drawer than rush out into the garden in the middle of cooking, it pays to harvest ahead of time and keep a dried supply of this useful herb on hand. For drying, choose the freshest leaves. Although it is possible to strip the leaves and then dry them, I like to dry the entire branch so that none of the oils are lost through tearing. If you have a dehydrator, the drying job is over in a matter of hours and the house is left smelling of stuffing! Alternatively, tie the branches together tightly. In summer, they can be left sitting on absorbent paper on a sunny window ledge or hung in a greenhouse. In the cooler months, hang the bunches as high as possible in the warmest room of the house. You’ll know when the job is done as the leaves will begin dropping to the floor! Strip the dried leaves from their branches and store them in an air-tight container where they will keep fragrant for 6–8 months and can be quickly crumbled onto pizza. When using rosemary (fresh or dried) in soups and stews, tie it in a muslin bag, toss it into the pot, and remove it, bag and all, prior to serving or when sufficient flavour has been imparted.
For more growing advice and seasonal gardening tips, visit our Vegetable Gardening page.